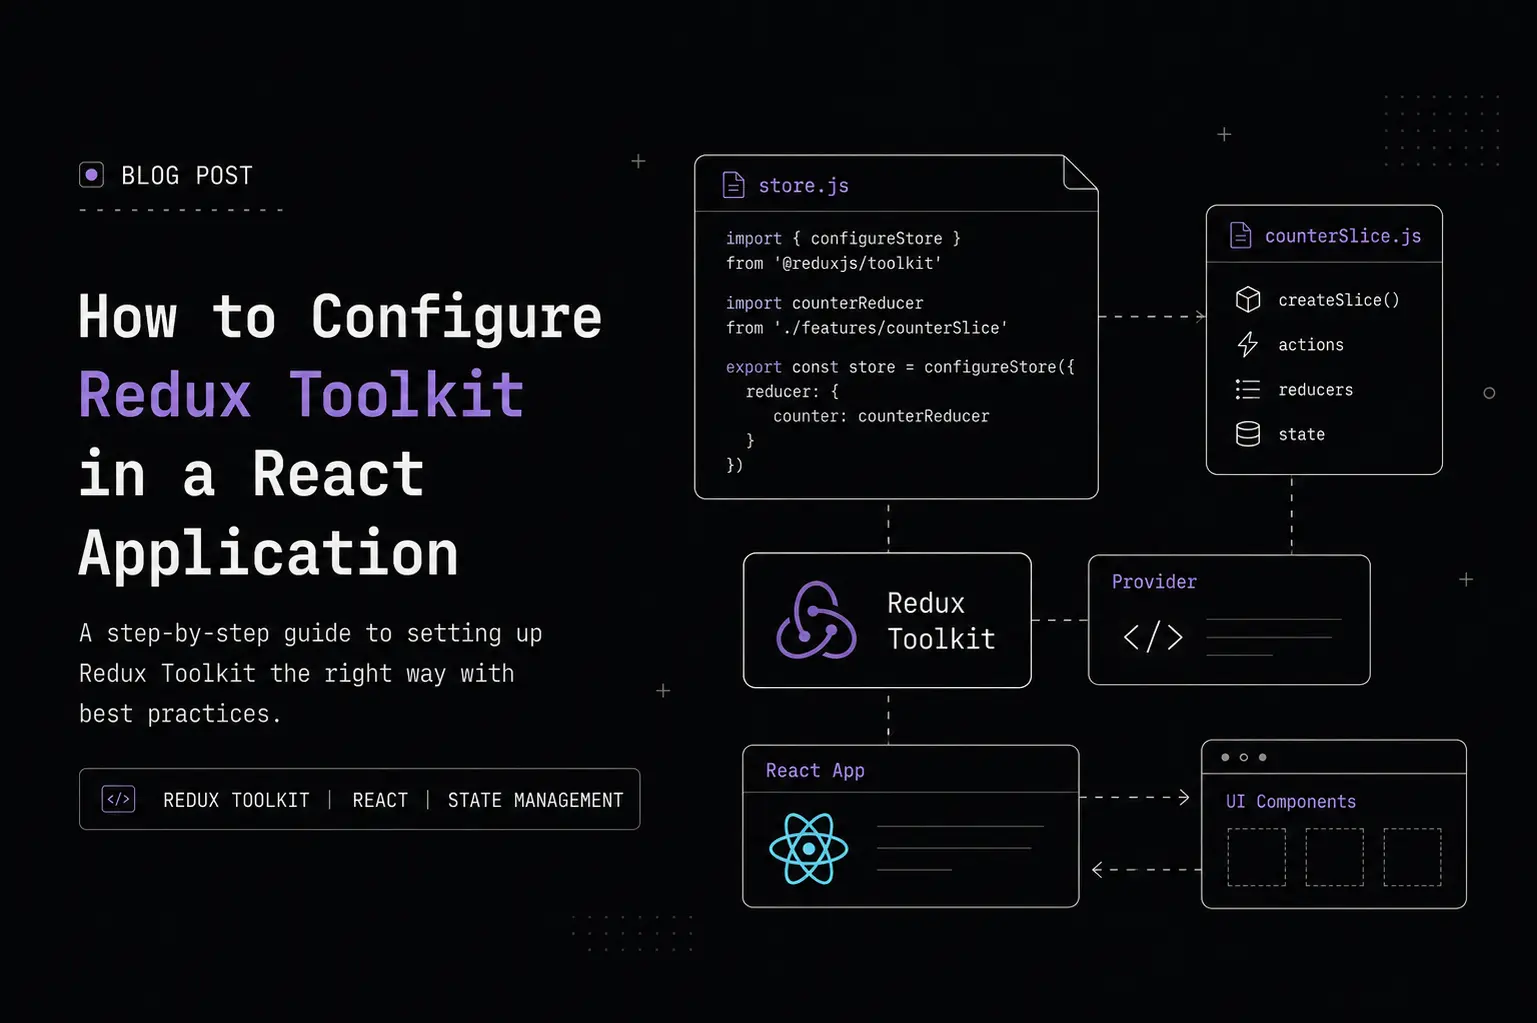
🛠️ How to Configure Redux Toolkit in a React Application
A beginner-friendly, step-by-step guide to setting up Redux Toolkit — the modern way to manage state in React.
📖 Table of Contents
- What is Context API?
- Why Use Context API?
- Enter Redux Toolkit
- Why Redux Toolkit Over Context API?
- Step-by-Step Setup Guide
🤔 What is Context API?
Before we jump into Redux Toolkit, let's first understand what problem it's trying to solve — and that story starts with React's Context API.
Context API is a built-in React feature that lets you share state across components without manually passing props down through every single level of the component tree. Think of it as creating a "global variable" that any component can tap into, no matter how deeply nested it is.
Props Drilling vs. Context API — A Visual Comparison
Here's what passing data looks like without Context API (a.k.a. "props drilling hell"):
         ┌──────────────┐
         │   App        │  ← has the data
         │  (state)     │
         └──────┬───────┘
                │ passes props ↓
         ┌──────┴───────┐
         │   Layout     │  ← doesn't need the data, just passes it along 😩
         └──────┬───────┘
                │ passes props ↓
         ┌──────┴───────┐
         │   Sidebar    │  ← still doesn't need it, just forwarding...
         └──────┬───────┘
                │ passes props ↓
         ┌──────┴───────┐
         │  UserAvatar  │  ← FINALLY uses the data! 🎉
         └──────────────┘
And here's the same scenario with Context API:
         ┌──────────────────────────┐
         │  Context Provider        │  ← wraps the tree, holds the data
         │  (global state)          │
         └──────────────────────────┘
                │           │
         ┌──────┴──┐   ┌────┴───────┐
         │  Layout │   │  Sidebar   │  ← no props needed, they mind their own business ✌️
         └─────────┘   └────────────┘
                            │
                     ┌──────┴───────┐
                     │  UserAvatar  │  ← useContext() → grabs data directly! ✅
                     └──────────────┘
💡 Why Use Context API?
-
Avoid Prop Drilling — When you have a deeply nested component tree, passing props down through 5-6 levels gets ugly fast. Context API lets any child component reach up and grab what it needs directly.
-
Centralized State Management — Instead of scattering state across multiple components, you keep it in one place. This makes your app easier to reason about and debug.
But wait... if Context API already solves these problems, why do we need Redux Toolkit? Great question — keep reading. 👇
🚀 Enter Redux Toolkit
Redux Toolkit (RTK) is the official, recommended way to write Redux logic. It's a library that wraps around Redux and provides a set of powerful utilities to simplify the entire state management process.
In plain English: Redux Toolkit is Redux, but without all the annoying boilerplate code.
It includes helpers for:
- Creating slices (chunks of state + their logic)
- Writing reducers (functions that update state)
- Generating action creators (functions that trigger state updates)
- Adding middleware (for handling async stuff like API calls)
⚔️ Why Redux Toolkit Over Context API?
Both solve the "global state" problem, but Redux Toolkit shines when your app gets complex. Here's a quick comparison:
| Feature | Context API | Redux Toolkit |
|---|---|---|
| Setup Complexity | Minimal | Slightly more (but worth it) |
| Performance | Re-renders all consumers | Optimized, selective re-renders |
| DevTools | None built-in | Redux DevTools (time travel! 🕐) |
| Middleware / Async | DIY | Built-in (Thunks, etc.) |
| Best For | Simple, small apps | Medium to large-scale apps |
The Bottom Line:
- Better state management — RTK provides a structured, predictable way to manage even the most complex state. No spaghetti code.
- Middleware support — Need to fetch data from an API before updating state? Middleware makes that a breeze.
- DevTools integration — The Redux DevTools extension is a game-changer. You can literally time-travel through your state changes. Yes, really.
- Less boilerplate — RTK cuts out the repetitive setup that made old-school Redux painful.
📋 Step-by-Step Setup Guide
Alright, enough theory — let's build something! We'll set up a simple Todo App using Redux Toolkit.
Step 1: Create a New React Application
Fire up your terminal and scaffold a new Vite + React project:
npm create vite@latest my-app
Why Vite? It's blazing fast compared to Create React App. Your dev server starts in milliseconds, not seconds. Once you try it, you won't go back.
Step 2: Install Dependencies
Navigate into your project and install Redux Toolkit along with React-Redux (the glue that connects Redux to React):
cd my-app
npm install @reduxjs/toolkit react-redux
Step 3: Create the Redux Store
Create a new folder called store inside the src directory, and add a file named store.js:
📁 File: src/store/store.js
import { configureStore } from "@reduxjs/toolkit";

// Right now our store is empty — think of it as an empty warehouse.
// We'll add "departments" (reducers) to it in the next steps.
const store = configureStore({});

export default store;
Key Concept: Your entire app should have only one store. It's the single source of truth for all your state. But don't worry — you can organize your state into multiple "slices" (which we'll do next).
Step 4: Create a Feature Slice
Now let's create the actual state logic. Create a features folder inside src, and add a file called todoSlice.js:
📁 File: src/features/todoSlice.js
import { createSlice, nanoid } from "@reduxjs/toolkit";

// This is where our todos will live when the app first loads.
// We're starting with one todo so the list isn't empty — feels more real.
const initialState = {
  todos: [{ id: 1, text: "Learn Redux Toolkit" }],
};

// A "slice" is a collection of reducer logic and actions for a single feature.
// Think of it like a mini-Redux module focused on one thing — in this case, todos.
const todoSlice = createSlice({
  // This name shows up in Redux DevTools — super helpful for debugging.
  name: "todos",

  // The starting state we defined above.
  initialState,

  // Reducers = the functions that actually modify state.
  // Redux Toolkit uses Immer under the hood, so you CAN mutate state directly
  // here (like state.todos.push). It looks like mutation, but Immer makes it
  // immutable behind the scenes. Pretty neat, right?
  reducers: {
    addTodo: (state, action) => {
      const todo = {
        // nanoid() generates a tiny, unique, URL-friendly ID.
        // No need to install uuid or do Math.random() hacks anymore!
        id: nanoid(),
        // action.payload is whatever data we send when dispatching this action.
        // In our case, it'll be the todo text string.
        text: action.payload,
      };
      state.todos.push(todo);
    },

    removeTodo: (state, action) => {
      // action.payload here will be the id of the todo we want to delete.
      // We filter it out — only keeping todos whose id does NOT match.
      state.todos = state.todos.filter((todo) => todo.id !== action.payload);
    },
  },
});

// RTK auto-generates action creators for each reducer function.
// So `addTodo` and `removeTodo` are now ready-to-use action creators!
export const { addTodo, removeTodo } = todoSlice.actions;

// We export the reducer (not the slice) because that's what the store needs.
export default todoSlice.reducer;
Pro Tip: Each feature in your app (auth, cart, notifications, etc.) should get its own slice file. This keeps things modular and easy to maintain.
Step 5: Register the Slice in the Store
Now let's go back to our store and tell it about our todo slice:
📁 File: src/store/store.js (updated)
import { configureStore } from "@reduxjs/toolkit";
import todoReducer from "../features/todoSlice";

const store = configureStore({
  // The reducer property tells the store what state to manage.
  // Each key here becomes a "section" of your global state.
  // So state.todos will be managed by our todoReducer.
  reducer: todoReducer,
});

export default store;
Note: If you had multiple slices (say
authSlice,cartSlice), you'd pass an object instead:reducer: { todos: todoReducer, auth: authReducer, cart: cartReducer, }Each key becomes a branch of your state tree.
Step 6: Provide the Store to Your App
For Redux to work, your entire React app needs access to the store. We do this by wrapping the app with the <Provider> component:
📁 File: src/main.jsx
import { StrictMode } from "react";
import { createRoot } from "react-dom/client";
import "./index.css";
import App from "./App.jsx";
import { Provider } from "react-redux";
import { store } from "./app/store.js";

createRoot(document.getElementById("root")).render(
  <StrictMode>
    {/* The Provider component makes the Redux store available to every
        component in your app. Without this wrapper, useSelector and
        useDispatch won't work — they'll throw errors. */}
    <Provider store={store}>
      <App />
    </Provider>
  </StrictMode>
);
Think of
<Provider>like a power outlet. Your components are the appliances — they can't do anything Redux-related unless they're plugged into the Provider.
Step 7: Using Redux State in Your Components
This is where everything comes together! 🎉
We'll break this into smaller pieces so it's easy to follow.
Step 7.1: Understand the Two Essential Hooks
Before writing any component code, let's understand the two hooks you'll use constantly:
| Hook | What It Does | Analogy |
|---|---|---|
useDispatch() | Sends actions to the store to update state | Like a remote control 🎮 |
useSelector() | Reads/extracts data from the store's state | Like a window into the store 🪟 |
-
useDispatch— Returns thedispatchfunction. You calldispatch(someAction())to tell the store "hey, something happened — update yourself." -
useSelector— Takes a selector function (a small function that picks out the piece of state you need) and returns that data. It also automatically re-renders your component when that piece of state changes.
Step 7.2: Set Up Imports and Component State
Let's start building our App component:
📁 File: src/App.jsx
import React, { useState } from "react";
// These two hooks are your bridge between React components and the Redux store.
import { useSelector, useDispatch } from "react-redux";
// Import the action creators we exported from our slice.
import { addTodo, removeTodo } from "./features/todoSlice";

const App = () => {
  // Local state for the input field — this doesn't need to be in Redux.
  // Not everything belongs in the global store! Keep local UI state local.
  const [input, setInput] = useState("");

  // Grab the todos array from the Redux store.
  // The function you pass to useSelector receives the ENTIRE store state,
  // and you return just the part you care about.
  const todos = useSelector((state) => state.todos);

  // Get the dispatch function so we can send actions to the store.
  const dispatch = useDispatch();
When to use Redux state vs. local state?
- Redux: Data that multiple components need (user info, cart items, todos)
- Local
useState: UI-only stuff (form inputs, toggles, modal open/close)
Step 7.3: Create the Form Submission Handler
Now let's write the function that handles adding a new todo:
  // This runs when the user submits the form (hits Enter or clicks the button).
  const addTodoHandler = (e) => {
    // Prevent the page from refreshing — default form behavior we don't want.
    e.preventDefault();

    // Don't add empty todos — that would be silly.
    if (input.trim() === "") return;

    // HERE'S THE MAGIC ✨
    // dispatch() sends our action to the store.
    // addTodo(input) creates an action object like: { type: "todos/addTodo", payload: "Buy milk" }
    // The store receives this, runs our reducer, and updates the state.
    dispatch(addTodo(input));

    // Clear the input field after adding.
    setInput("");
  };
What's happening behind the scenes?
- You type "Buy milk" and click "Add Todo"
addTodoHandlerfires → callsdispatch(addTodo("Buy milk"))- Redux receives the action → runs the
addTodoreducer- The reducer creates a new todo object
{ id: "abc123", text: "Buy milk" }and pushes it intostate.todosuseSelectordetects the state change → your component re-renders with the new todo in the list
Step 7.4: Build the JSX — The Input Form
Here's the form for adding todos:
  return (
    <>
      {/* The form for adding new todos */}
      <form onSubmit={addTodoHandler} className="space-x-3 mt-12">
        <input
          type="text"
          className="bg-gray-800 rounded border border-gray-700 focus:border-indigo-500 focus:ring-2 focus:ring-indigo-900 text-base outline-none text-gray-100 py-1 px-3 leading-8 transition-colors duration-200 ease-in-out"
          placeholder="Enter a Todo..."
          value={input}
          onChange={(e) => setInput(e.target.value)}
        />
        <button
          type="submit"
          className="text-white bg-indigo-500 border-0 py-2 px-6 focus:outline-none hover:bg-indigo-600 rounded text-lg"
        >
          Add Todo
        </button>
      </form>
Step 7.5: Build the JSX — The Todo List with Delete
And here's where we render the list and wire up the delete button:
      {/* The list of todos */}
      <div>Todos</div>
      <ul className="list-none">
        {todos.map((todo) => (
          <li
            className="mt-4 flex justify-between items-center bg-zinc-800 px-4 py-2 rounded"
            key={todo.id}
          >
            {/* Display the todo text */}
            <div className="text-white">{todo.text}</div>

            {/* Delete button — dispatches removeTodo with the todo's id */}
            <button
              onClick={() => dispatch(removeTodo(todo.id))}
              className="text-white bg-red-500 border-0 py-1 px-4 focus:outline-none hover:bg-red-600 rounded text-md"
            >
              {/* Trash can icon (heroicons) */}
              <svg
                xmlns="http://www.w3.org/2000/svg"
                fill="none"
                viewBox="0 0 24 24"
                strokeWidth={1.5}
                stroke="currentColor"
                className="w-6 h-6"
              >
                <path
                  strokeLinecap="round"
                  strokeLinejoin="round"
                  d="M14.74 9l-.346 9m-4.788 0L9.26 9m9.968-3.21c.342.052.682.107 1.022.166m-1.022-.165L18.16 19.673a2.25 2.25 0 01-2.244 2.077H8.084a2.25 2.25 0 01-2.244-2.077L4.772 5.79m14.456 0a48.108 48.108 0 00-3.478-.397m-12 .562c.34-.059.68-.114 1.022-.165m0 0a48.11 48.11 0 013.478-.397m7.5 0v-.916c0-1.18-.91-2.164-2.09-2.201a51.964 51.964 0 00-3.32 0c-1.18.037-2.09 1.022-2.09 2.201v.916m7.5 0a48.667 48.667 0 00-7.5 0"
                />
              </svg>
            </button>
          </li>
        ))}
      </ul>
    </>
  );
};

export default App;
Notice the delete button: When clicked, it dispatches
removeTodo(todo.id). Thetodo.idbecomesaction.payloadinside the reducer, which then filters out that specific todo. Clean and simple!
Step 7.6: Full Component at a Glance
Here's the complete App.jsx if you want to copy-paste the whole thing:
📄 Click to expand full App.jsx
import React, { useState } from "react";
import { useSelector, useDispatch } from "react-redux";
import { addTodo, removeTodo } from "./features/todoSlice";

const App = () => {
  const [input, setInput] = useState("");
  const todos = useSelector((state) => state.todos);
  const dispatch = useDispatch();

  const addTodoHandler = (e) => {
    e.preventDefault();
    if (input.trim() === "") return;
    dispatch(addTodo(input));
    setInput("");
  };

  return (
    <>
      <form onSubmit={addTodoHandler} className="space-x-3 mt-12">
        <input
          type="text"
          className="bg-gray-800 rounded border border-gray-700 focus:border-indigo-500 focus:ring-2 focus:ring-indigo-900 text-base outline-none text-gray-100 py-1 px-3 leading-8 transition-colors duration-200 ease-in-out"
          placeholder="Enter a Todo..."
          value={input}
          onChange={(e) => setInput(e.target.value)}
        />
        <button
          type="submit"
          className="text-white bg-indigo-500 border-0 py-2 px-6 focus:outline-none hover:bg-indigo-600 rounded text-lg"
        >
          Add Todo
        </button>
      </form>
      <div>Todos</div>
      <ul className="list-none">
        {todos.map((todo) => (
          <li
            className="mt-4 flex justify-between items-center bg-zinc-800 px-4 py-2 rounded"
            key={todo.id}
          >
            <div className="text-white">{todo.text}</div>
            <button
              onClick={() => dispatch(removeTodo(todo.id))}
              className="text-white bg-red-500 border-0 py-1 px-4 focus:outline-none hover:bg-red-600 rounded text-md"
            >
              <svg
                xmlns="http://www.w3.org/2000/svg"
                fill="none"
                viewBox="0 0 24 24"
                strokeWidth={1.5}
                stroke="currentColor"
                className="w-6 h-6"
              >
                <path
                  strokeLinecap="round"
                  strokeLinejoin="round"
                  d="M14.74 9l-.346 9m-4.788 0L9.26 9m9.968-3.21c.342.052.682.107 1.022.166m-1.022-.165L18.16 19.673a2.25 2.25 0 01-2.244 2.077H8.084a2.25 2.25 0 01-2.244-2.077L4.772 5.79m14.456 0a48.108 48.108 0 00-3.478-.397m-12 .562c.34-.059.68-.114 1.022-.165m0 0a48.11 48.11 0 013.478-.397m7.5 0v-.916c0-1.18-.91-2.164-2.09-2.201a51.964 51.964 0 00-3.32 0c-1.18.037-2.09 1.022-2.09 2.201v.916m7.5 0a48.667 48.667 0 00-7.5 0"
                />
              </svg>
            </button>
          </li>
        ))}
      </ul>
    </>
  );
};

export default App;
🎯 Quick Recap — The Data Flow
Here's how everything connects, from start to finish:
  User clicks "Add Todo"
        │
        ▼
  dispatch(addTodo("Buy milk"))     ← Component sends action
        │
        ▼
  ┌─────────────────────────┐
  │      Redux Store        │
  │  ┌───────────────────┐  │
  │  │   todoReducer     │  │       ← Store runs the matching reducer
  │  │   adds new todo   │  │
  │  └───────────────────┘  │
  └─────────────────────────┘
        │
        ▼
  useSelector detects change         ← Component re-renders automatically
        │
        ▼
  Updated UI shows new todo! 🎉
📚 Further Reading
"The best state management is the one you don't have to think about." — Every developer after switching to Redux Toolkit, probably.